
How to install Python in Windows?
Installing Python on Windows is straightforward. Follow these steps:
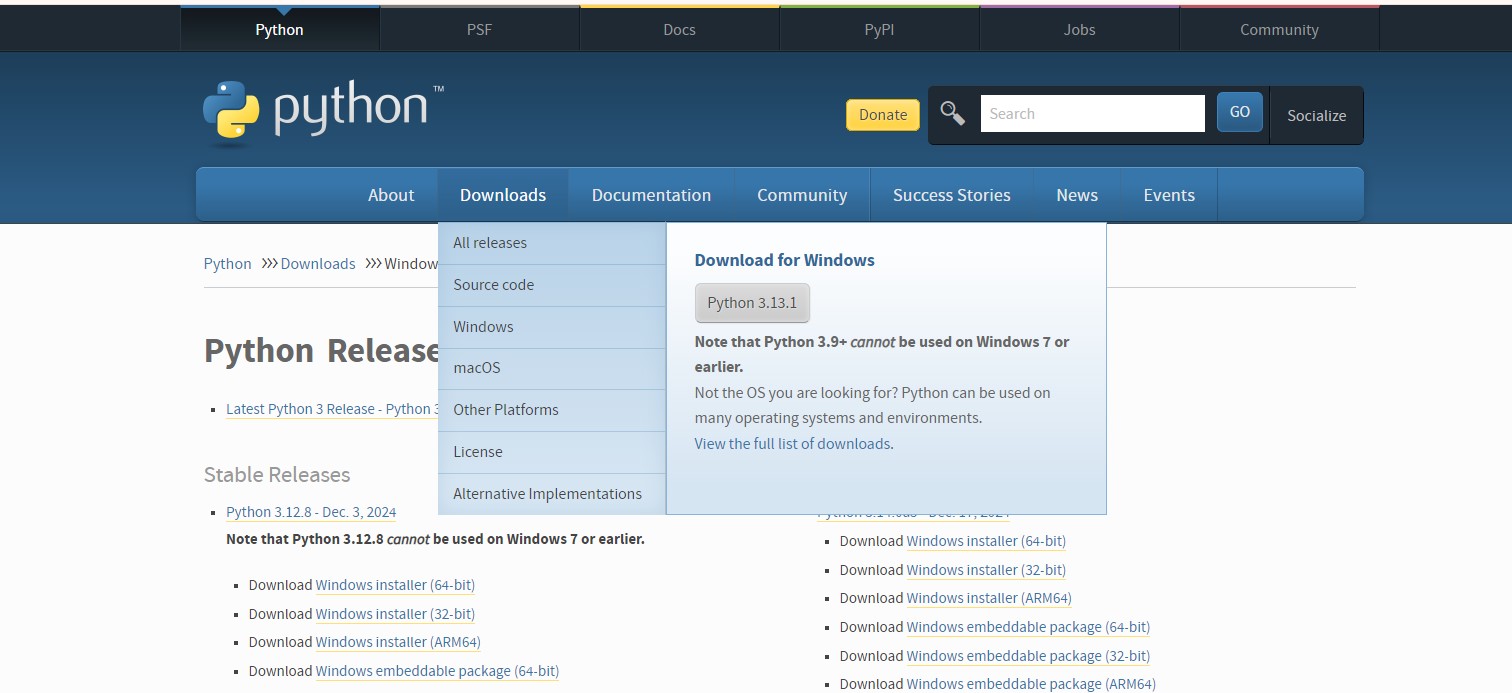
Step 1: Download Python Installer
- Go to the official Python website: https://www.python.org.
- Navigate to the Downloads section, and the site will usually suggest the latest Python version for Windows.
- Click the download link to download the Python installer.
Step 2: Run the Installer
- Locate the downloaded installer (it will likely be in your “Downloads” folder).
- Double-click the installer to launch it.
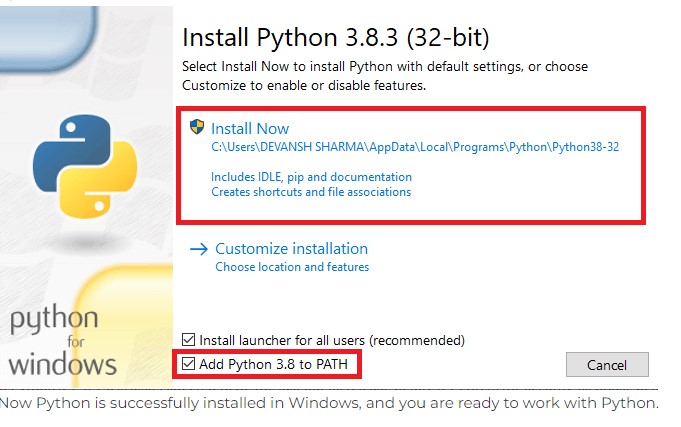
Step 3: Customize Installation (Optional but Recommended)
- Check the Box: On the first installation screen, check the box that says “Add Python X.X to PATH” (important for running Python from the command line).
- Click Customize installation if you want to adjust the installation settings. Otherwise, click Install Now for default settings.
Step 4: Complete the Installation
- Allow the installation to complete. If prompted for administrator permissions, click Yes.
- Once finished, you’ll see a setup success screen. Click Close.
Step 5: Verify the Installation
- Open the Command Prompt (search for
cmdin the Start menu). - Type the following command and press Enter:
python --version
You should see the installed Python version displayed.
Step 6: Install pip (Optional)
pip is Python’s package manager and is included in recent Python versions. To check if pip is installed, type:
pip --version
If not installed, you can install it using the Python installer or manually.
Step 7: Install an IDE (Optional)
For development, you may want an IDE like:
- VS Code
- PyCharm
- IDLE (comes pre-installed with Python).